
The difference between a mediocre piece and stunning jewelry often lies in the finishing and polishing process. As a jewelry manufacturer in Bangkok, we've seen countless designs transform from rough castings into brilliant, market-ready pieces through proper finishing techniques. This comprehensive guide will walk you through the essential steps of professional jewelry finishing and polishing.
Understanding the Jewelry Finishing Process
Jewelry finishing encompasses all post-casting processes that prepare your piece for final presentation. This includes removing casting sprues, filing, sanding, texturing, and polishing. The quality of finishing work directly impacts your jewelry's perceived value and customer satisfaction.
Professional jewelry finishing typically follows this sequence: initial cleaning, rough finishing, fine finishing, pre-polishing preparation, and final polishing. Each stage requires specific tools, techniques, and attention to detail.
Essential Tools for Professional Jewelry Finishing
Investing in quality finishing tools is crucial for consistent results. Your toolkit should include:
- Files of various cuts (rough, medium, fine)
- Sandpaper in grits from 220 to 2000
- Rotary tools with various attachments
- Polishing compounds (tripoli, rouge, platinum compound)
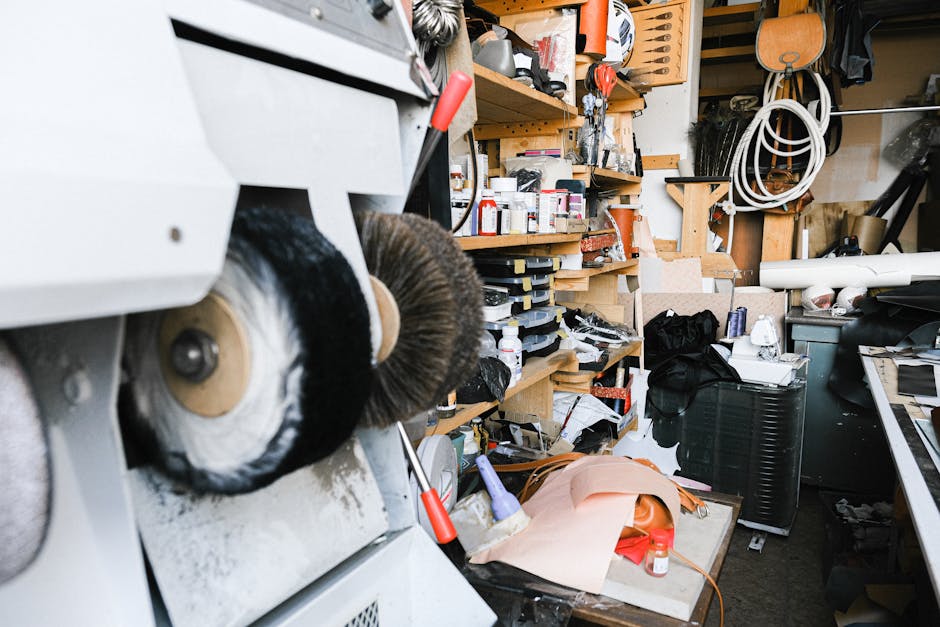
- Polishing wheels and buffs
- Ultrasonic cleaner
- Safety equipment (dust masks, eye protection)
Step-by-Step Jewelry Finishing Process
Stage 1: Initial Preparation
Remove all casting sprues using flush cutters, leaving minimal material for filing. Clean the piece thoroughly to remove casting investment and oxidation. This stage sets the foundation for all subsequent work.
Stage 2: Rough Finishing
Use coarse files and 220-grit sandpaper to remove major imperfections, tool marks, and excess material. Work systematically around the piece, maintaining consistent pressure and angle. Pay special attention to areas where prongs meet settings and where different elements connect.
Stage 3: Progressive Smoothing
Gradually work through finer grits (400, 600, 800, 1000, 1500, 2000), ensuring each grit removes scratches from the previous stage. This progressive approach prevents deep scratches that are difficult to remove during polishing.
Professional Polishing Techniques
Polishing transforms your carefully prepared surface into a mirror finish. Start with tripoli compound on a felt wheel to remove fine scratches and create initial shine. Follow with rouge compound for high polish, and finish with platinum compound for precious metals requiring ultimate brilliance.
"The key to professional polishing is patience and proper compound selection. Rushing this stage often means starting over," advises our head finishing specialist at JewelCAD Design.
Maintain consistent pressure and keep the piece moving to prevent overheating. Overheated metal can become soft and develop new scratches easily. Clean thoroughly between polishing stages to prevent compound contamination.
Common Finishing Challenges and Solutions
Deep scratches often result from skipping grits during preparation. Always work progressively through grits without jumping steps. Fire scale on silver requires pickle solution treatment before polishing begins.
For pieces with mixed textures, mask polished areas when creating brushed or matte finishes. Use painter's tape or specialized masking compounds to protect completed sections.
Quality Control and Final Inspection
Professional finishing requires thorough quality control. Inspect finished pieces under various lighting conditions to identify missed scratches or uneven surfaces. Use magnification to check detail areas like prong tips and inside surfaces of rings.
Document your finishing process for each piece type. This ensures consistency across production runs and helps train new staff members.
Outsourcing Jewelry Finishing to Professional Manufacturers
Many jewelry designers and brands choose to outsource finishing to specialized manufacturers like JewelCAD Design. Professional finishing workshops have industrial-grade equipment, experienced craftspeople, and established quality control systems that ensure consistent, high-quality results.
When selecting a finishing partner, evaluate their portfolio, quality standards, turnaround times, and ability to handle your specific materials and design requirements.